Installing The Sun SPOT SDK on Mac OS X :
As stated previously, you must have at least a Sun Java Runtime Environment (JRE) installed to proceed. Mac OS X comes with a complete Java Development Kit, as well as ant, already installed so there are no 'prerequisites' for installing the Sun SPOT SDK.
1. Installation Using Sun SPOT Manager
The Sun SPOT Manager Tool is a Java WebStart Application, which means that you must have internet connectivity in order to run it for the first time (and to obtain updates in the future). It is designed to make installing and running the Sun SPOT SDK as easy as possible.
-
Navigate to the SPOT Manager web page
and click on the image of the Sun SPOT to launch the Sun SPOT Manager application.
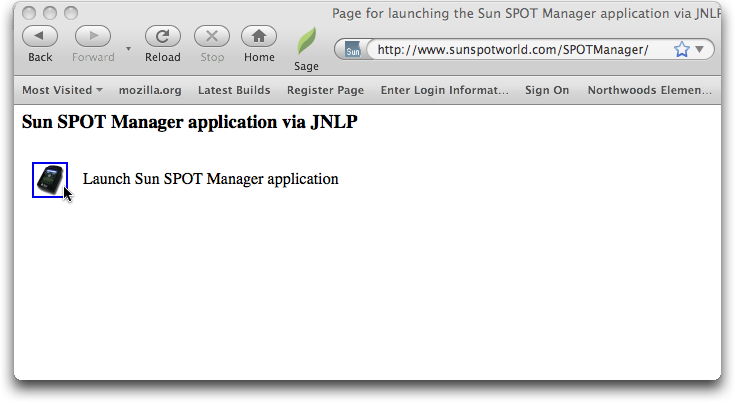
Clicking on the icon of the Sun SPOT on this page will download the Sun SPOT Manager Application to your machine and begin the installation process.
- You will see a series of windows appear as you go through this process.
If your browser does not know how to deal with .jnlp files yet, configure it to open such files with the javaws application.
You may be asked to accept the digital certificate of the Sun SPOT Manager Application. This is a trusted certificate, signed by Sun Microsystems, so accepting it permanently is safe.

You may be prompted to configure a Desktop Shortcut for the Sun SPOT Manager. It is recommended that you do this in order to make using the Sun SPOT Manager easier in the future. Depending on your preferences, the shortcut may be created for you.
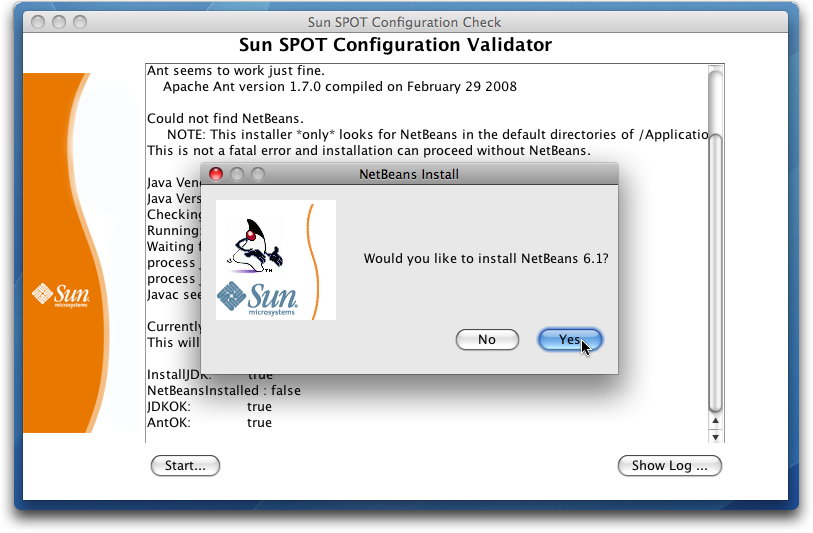
- The Sun SPOT Configuration Validator will appear.
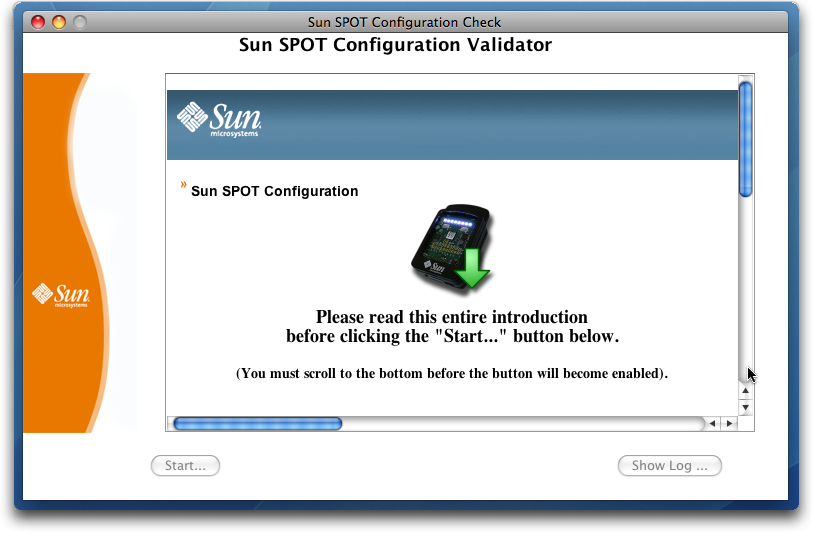
This utility will check for any missing required software, and will enable to you install and configure any and all required software.
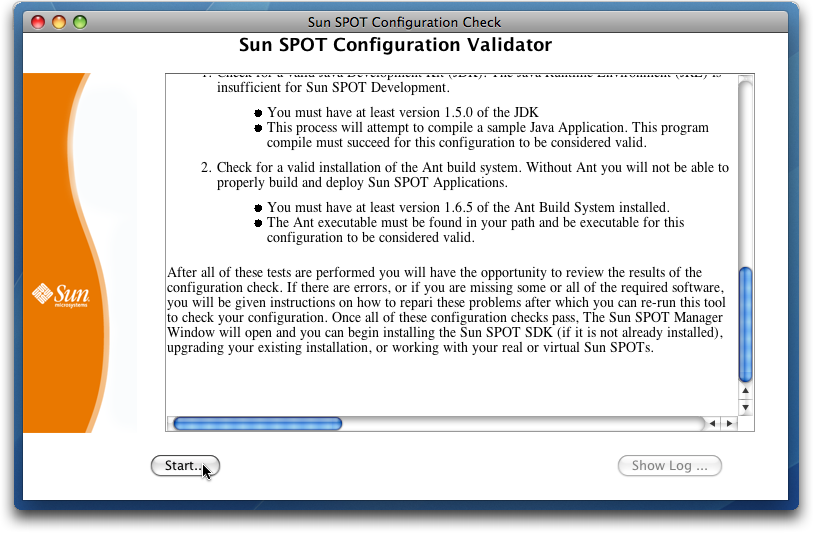
You must scroll to the bottom of the window in order to enable the 'Start ...' button. It is even suggested that you read the text in the window as you do so.
- You will be given the opportunity to install the latest version of the NetBeans IDE (currently 6.1). While NetBeans is not a requirement for Sun SPOT development, we highly recommend installing NetBeans and the Sun SPOT NetBeans modules as we have provided templates for developing Sun SPOT applications (both host-side and SPOT-side applications) using NetBeans.
- Once downloaded, the Disk Image will be automatically mounted, and a windows containing the NetBeans Package Installer will appear.
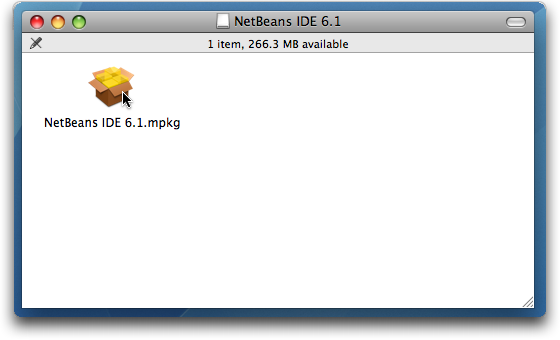
Shortly thereafter the NetBeans installer window should appear.
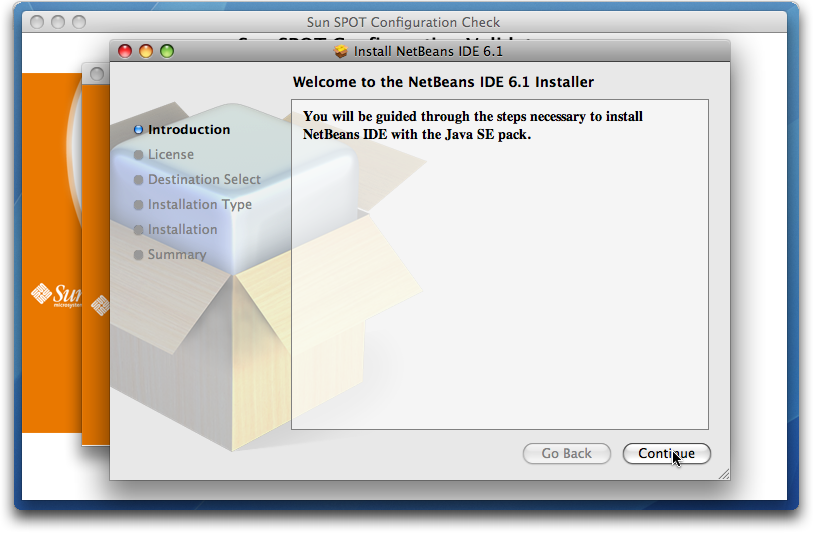
The NetBeans installer will walk you through the entire process of installing NetBeans.
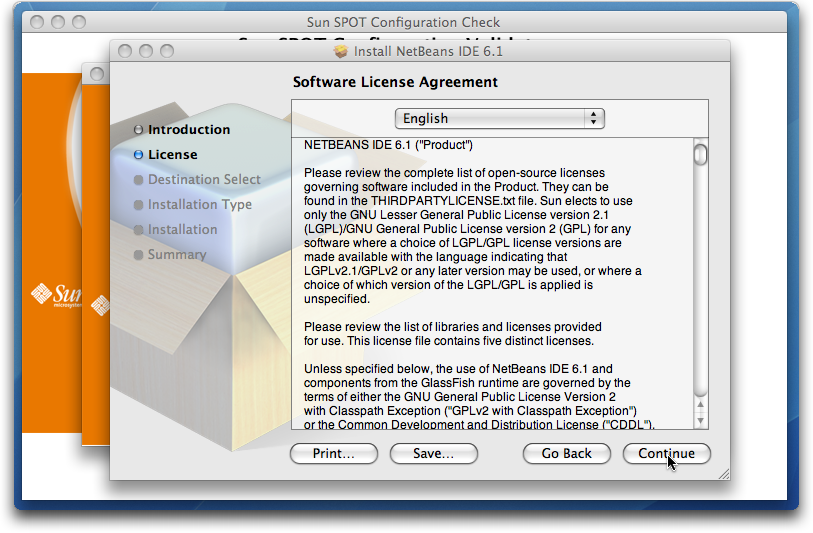
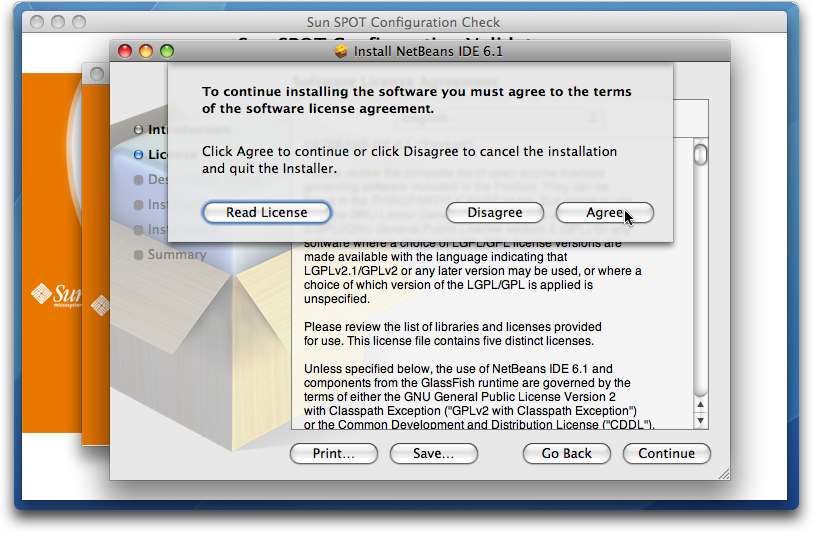
You must agree to the NetBeans license:
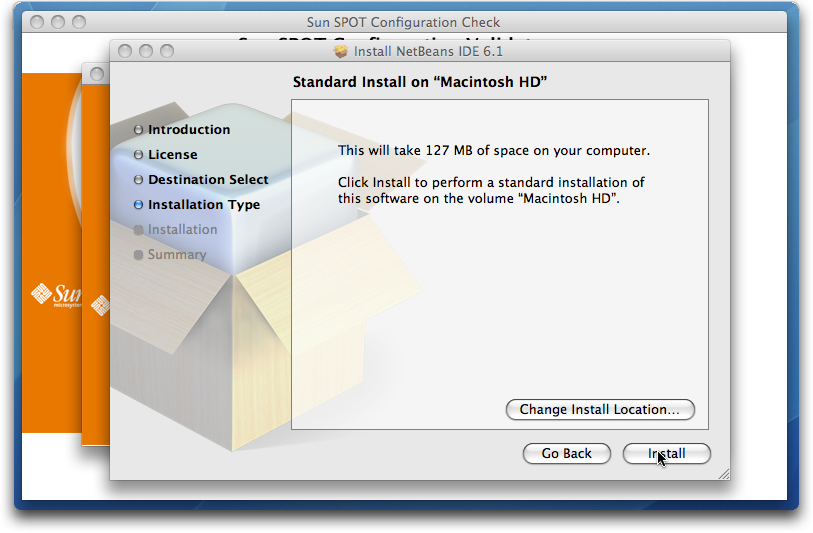
You should be able to accept the default values for everything:
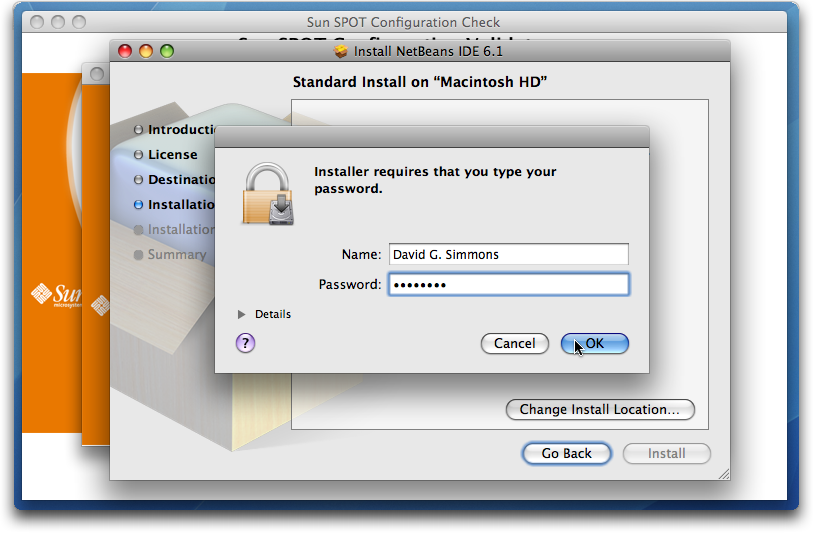
You may need to enter your administrator password in order to install NetBeans.
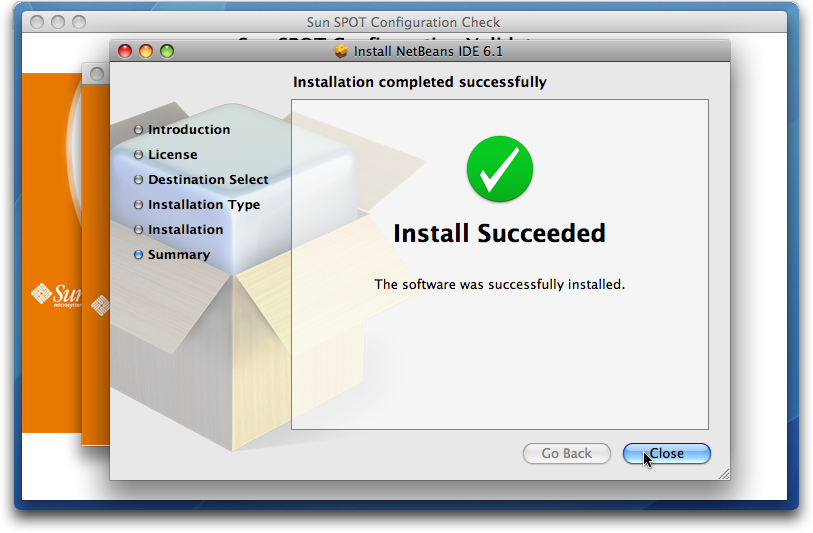
- Once NetBeans is completely installed, you will be given the opportunity to install the Sun SPOT NetBeans modules.
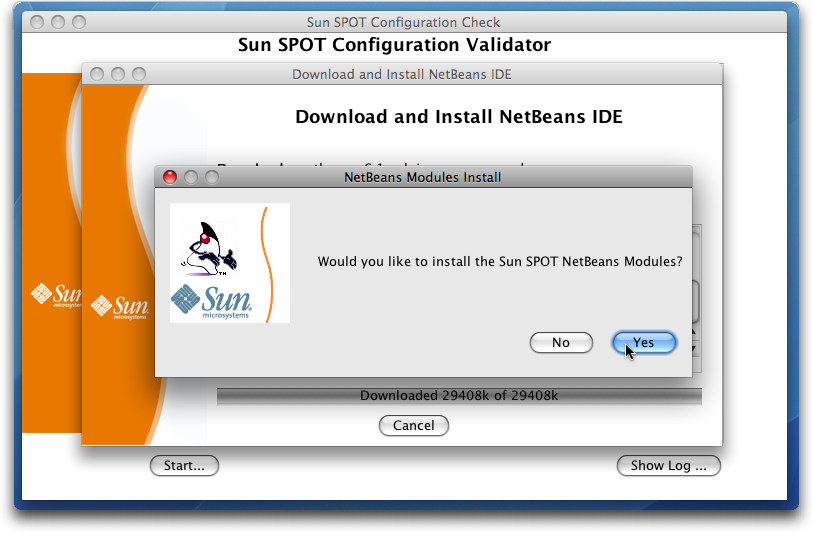
Again, we strongly recommend installing the Sun SPOT NetBeans modules as they greatly simplify the development of Sun SPOT Applications.
- Once all the configuration has succeeded you will be able to install the Sun SPOT SDK software itself.
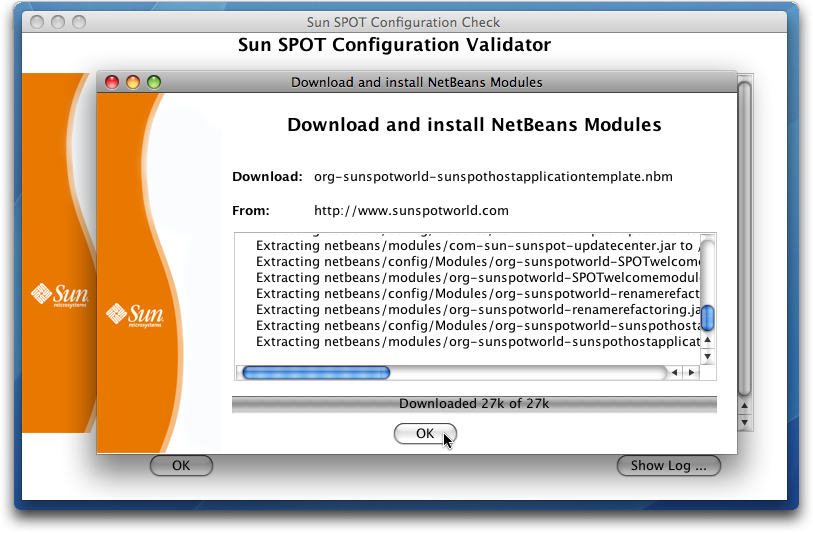
You can see what files were installed during this process in the window. Click 'OK' when finished.
- You will be presented with the Sun SPOT SDK License Agreement. You must accept this license agreement in order to proceed with the installation.
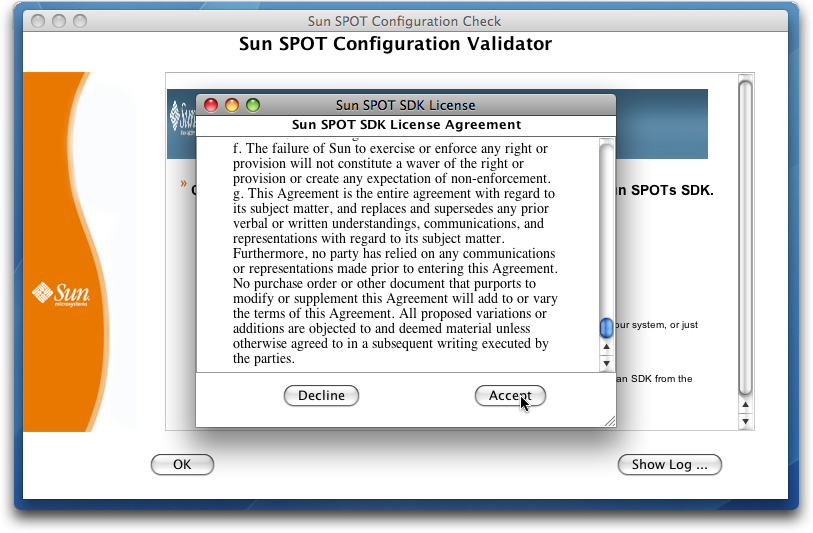
Note that, once again, you must scroll to the bottom of the license agreement before you will be able to click the 'Accept' button. Also, you are strongly encouraged to read the license agreement before agreeing to it.
- You can simply accept the default values, unless you have reason to want your development environment located somewhere else.
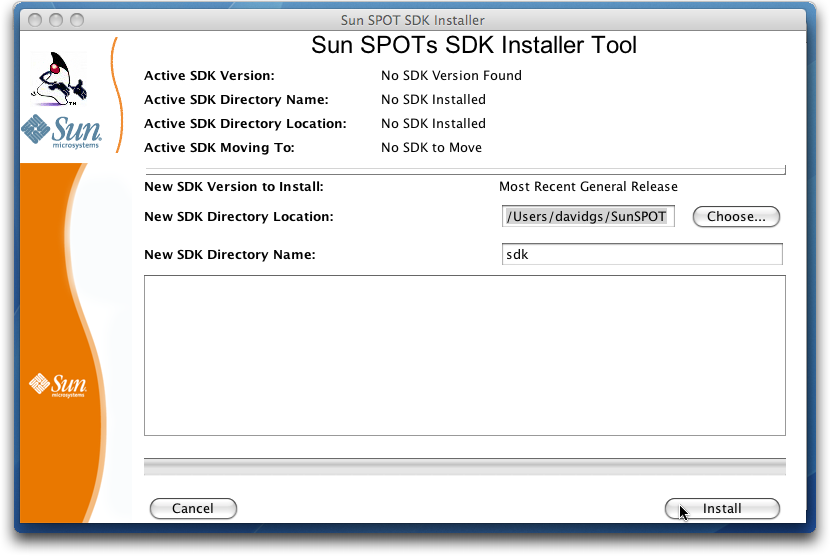
click on 'Install' to install the SDK.
- The installation of the Sun SPOT Software requires that some administrativew tasks be executed with elevate privliges. An Terminal window will open prompting you to enter your administrator password.
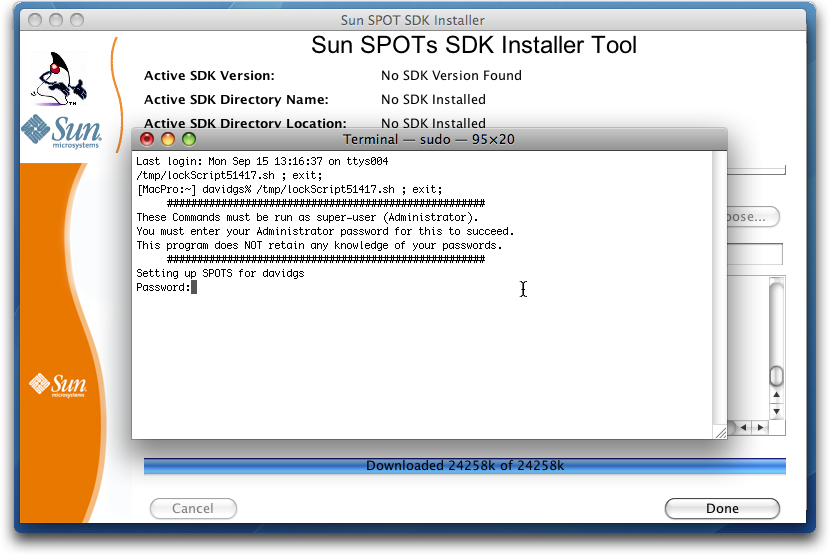
This password is not stored by the Sun SPOT Manager application.
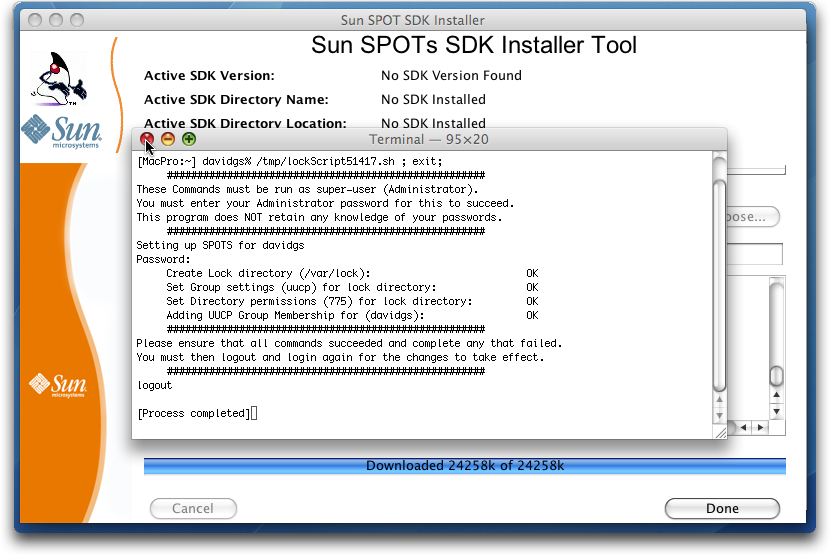
When this process is complete, you can close the Terminal program.
- This completes the installation of the Sun SPOT SDK.

Click 'Done' to close the SDK Installer window.
- If you wish to see the details of the processes that were run, or if you had problems during the install, click the 'Show Log' button.

If there were problems installing the Sun SPOT SDK copy the text out of the Log Window and post them to the sunspotworld.com forums.
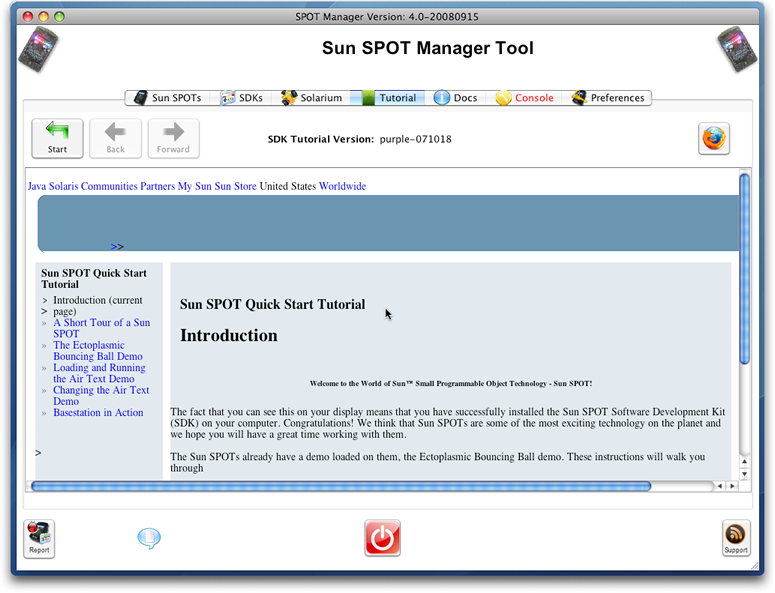
- The Sun SPOT SDK, and all required software and configuration, is now completed.
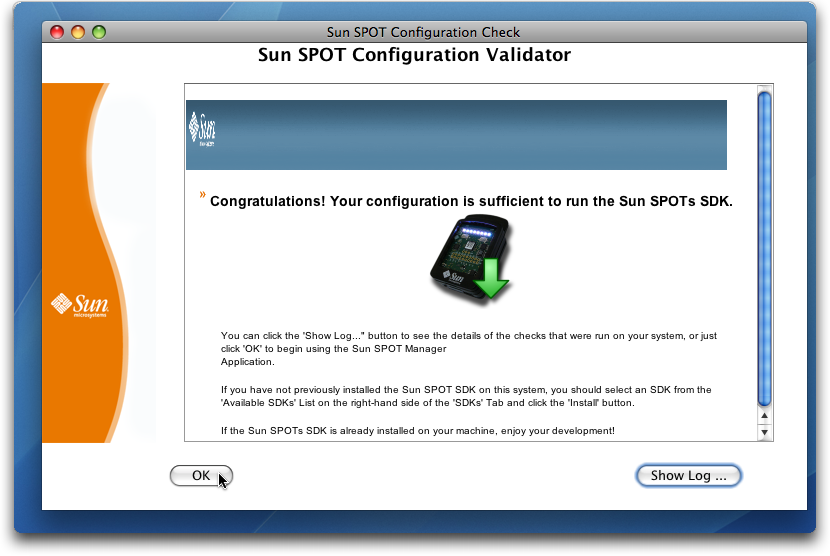
Click 'OK' to go to the Sun SPOT Manager Tool's main window.
- You can now work through the Sun SPOT SDK Tutorial and begin working with your Sun SPOT SDK.