As stated previously, you must have at least a Sun Java Runtime Environment (JRE) installed to proceed. If you have that requirement satisfied, you can skip to Installing Using the Sun SPOT Manager section. Otherwise, proceed with installing the prerequisite software.
1. Installing Prerequisite Software
Chances are that you already have the necessary prerequisite software installed, but if you need to install the Sun Java Runtime Environment (JRE) then these instructions should help.
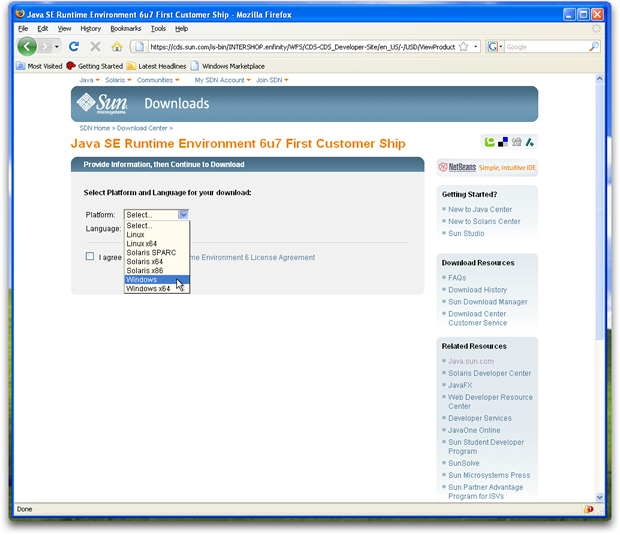
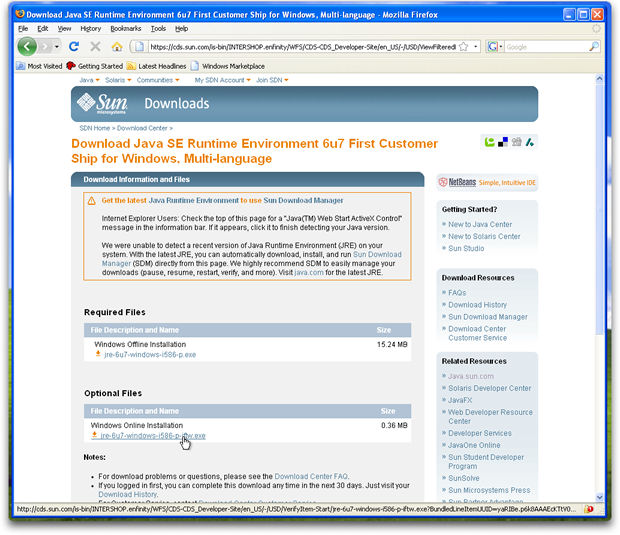
- Download the Sun Java Runtime Environment from java.sun.com. Once you have the JRE Installer, run the Installer.

Select your Platform (windows) and agree to the License Agreement as required.

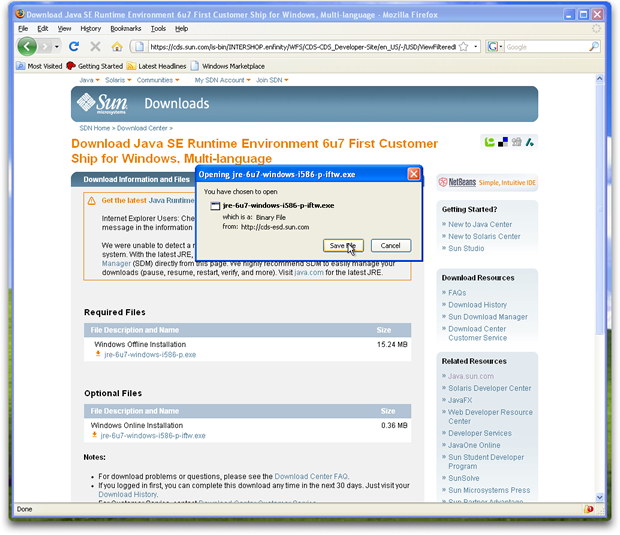
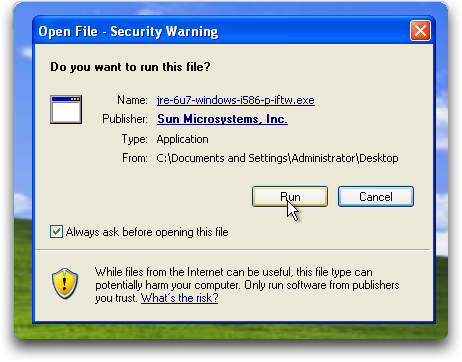
The Installer will prompt you before executing.
- As with most "Installer Wizards" you will be guided through the installation process.

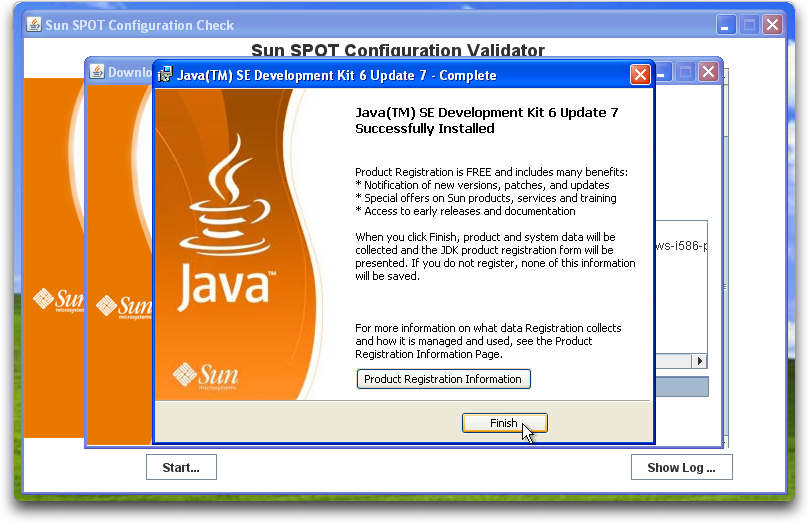
Once the installation is complete, click 'Finish'.
A Sun Java Runtime Environment is a minimum requirement to be able to proceed.
- That takes care of installing the prerequisite software. Everything else will be handled by the Sun SPOT Manager Tool.
2. Installation Using Sun SPOT Manager
The Sun SPOT Manager Tool is a Java WebStart Application, which means that you must have internet connectivity in order to run it for the first time (and to obtain updates in the future). It is designed to make installing and running the Sun SPOT SDK as easy as possible.
-
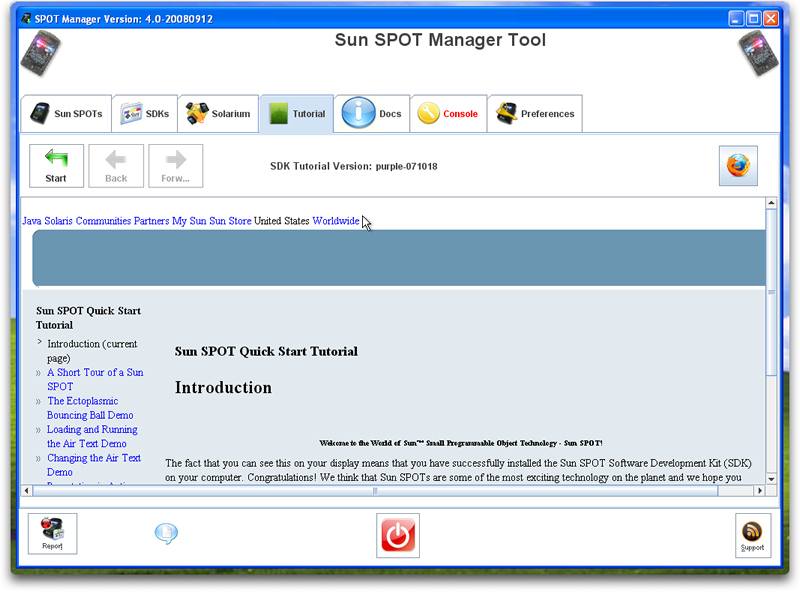
Navigate to the SPOT Manager web page
and click on the image of the Sun SPOT to launch the Sun SPOT Manager application.

Clicking on the icon of the Sun SPOT on this page will download the Sun SPOT Manager Application to your machine and begin the installation process.
- You will see a series of windows appear as you go through this process:
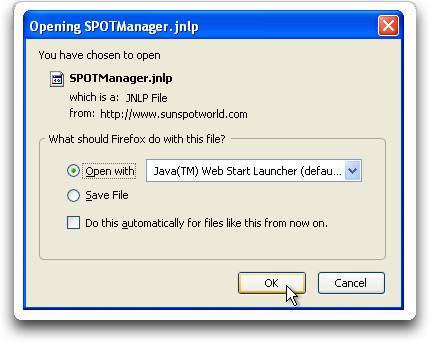
If your browser does not know how to deal with .jnlp files yet, configure it to open such files with the javaws application.
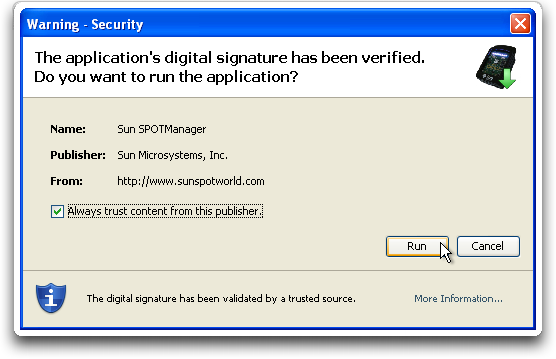
- You may be asked to accept the digital certificate of the Sun SPOT Manager Application. This is a trusted certificate, signed by Sun Microsystems, so accepting it permanently is safe.
- You may be prompted to configure a Desktop Shortcut for the Sun SPOT Manager. It is recommended that you do this in order to make using the Sun SPOT Manager easier in the future. Depending on your preferences, the shortcut may be created for you.
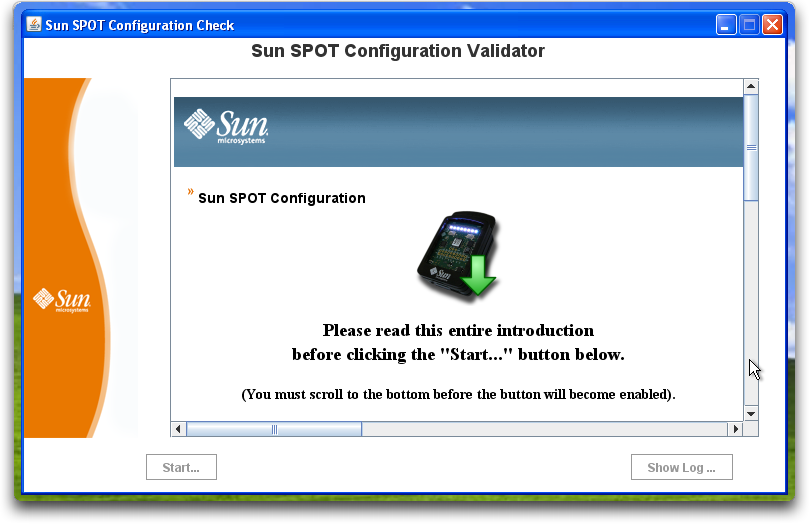
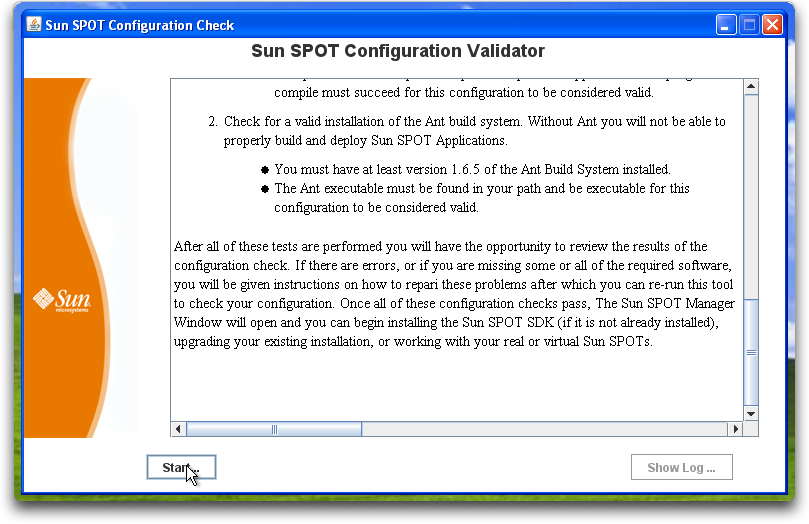
- Once downloaded, the Sun SPOT Configuration Validator will start. This utility will check for any missing required software, and will enable to you install and configure any and all required software. You must scroll to the bottom of the window in order to enable the 'Start ...' button. It is even suggested that you read the text in the window as you do so.
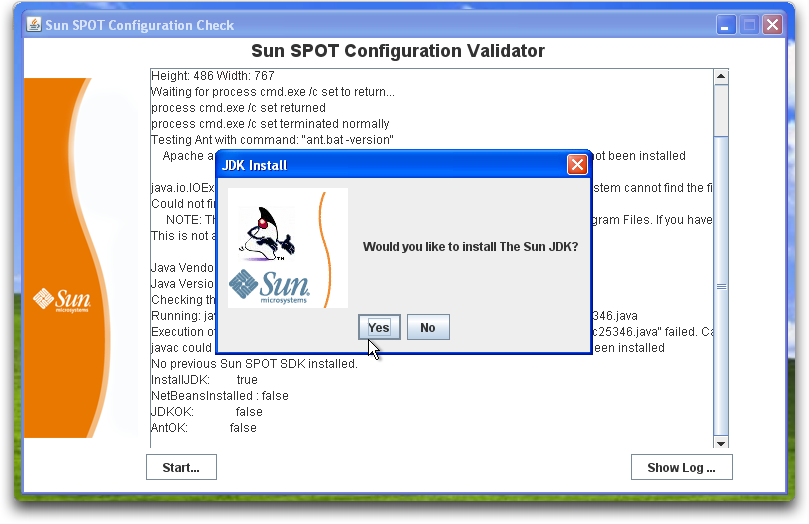
- If you did not install the Sun JDK in the Prerequisite section, The Sun SPOT Manager will offer to install it for you.
Note: If you do not have a JDK installed already, and you select 'No' at this point, your installation will not complete. If you already have a Sun JDK installed, skip to Step 8 and continue.
- The Sun Java Development Kit installer will be downloaded and executed for you.

Again, you must accept the license agreement in order to proceed.
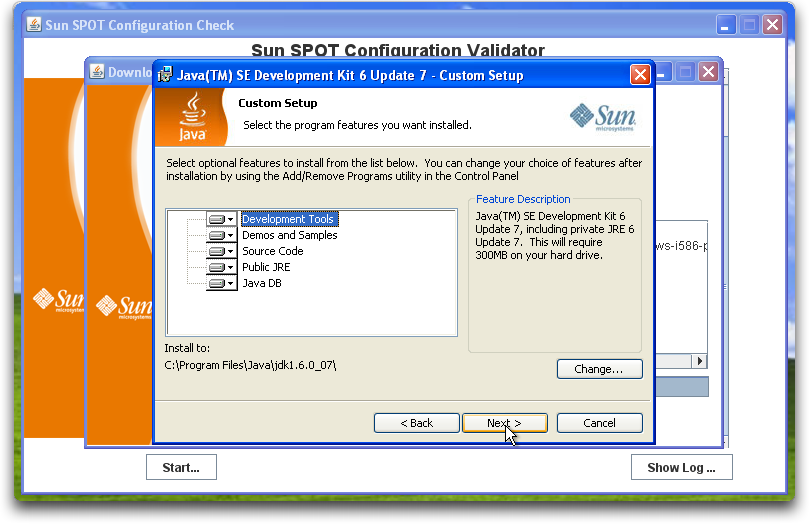
You will be given an opportunity to 'customize' the installation but no customization is required or recommended.
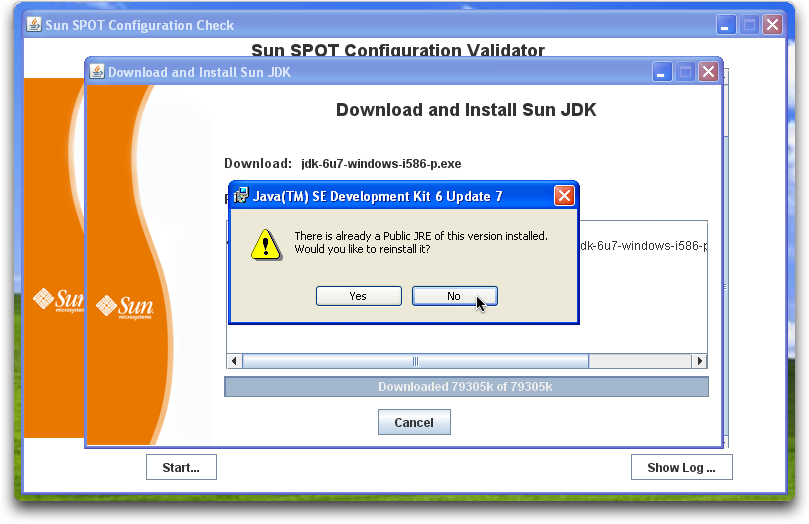
Since you already have a JRE installed it is not necessary to re-install the JRE, though it will cause no harm to do so.
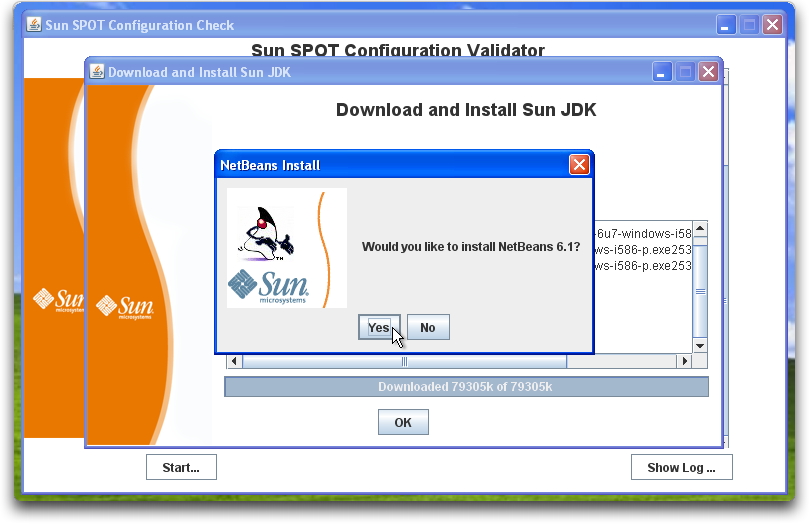
- You will then be given the opportunity to install the latest version of the NetBeans IDE (currently 6.1). While NetBeans is not a requirement for Sun SPOT development, we highly recommend installing NetBeans and the Sun SPOT NetBeans modules as we have provided templates for developing Sun SPOT applications (both host-side and SPOT-side applications) using NetBeans.
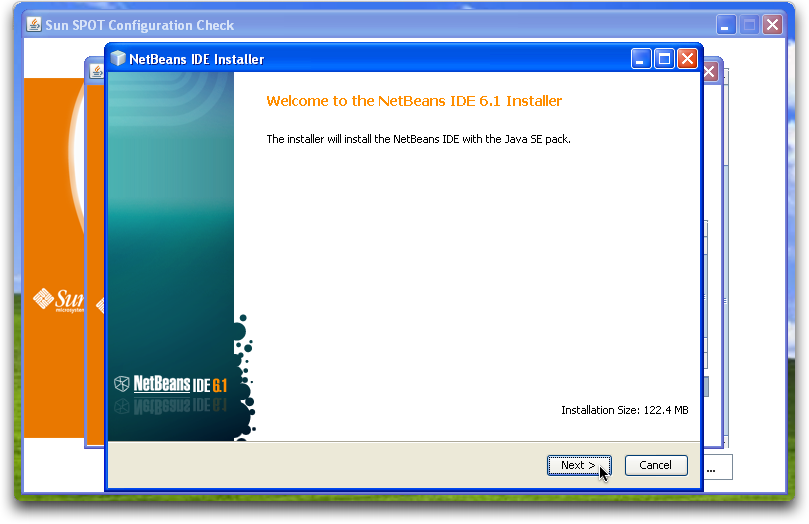
- NetBeans is downloaded from the NetBeans Download Center. Once downloaded, the NetBeans installer will begin. This will walk you through the entire process of installing NetBeans.
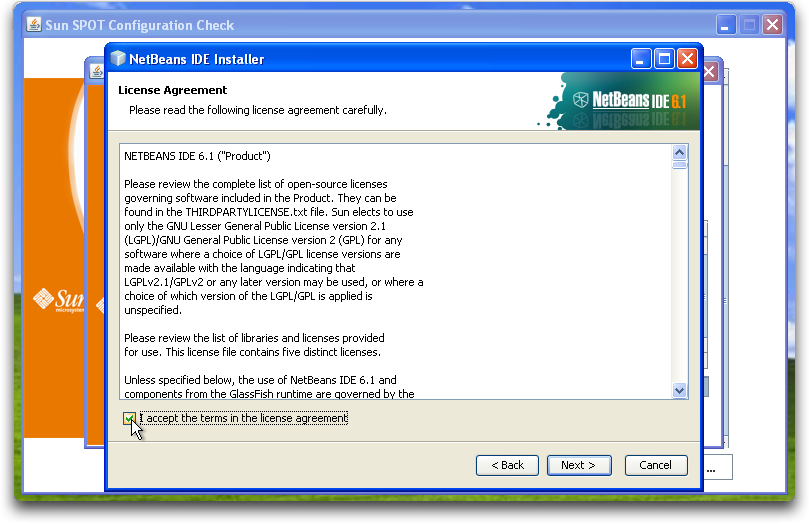
You must agree to the NetBeans license.
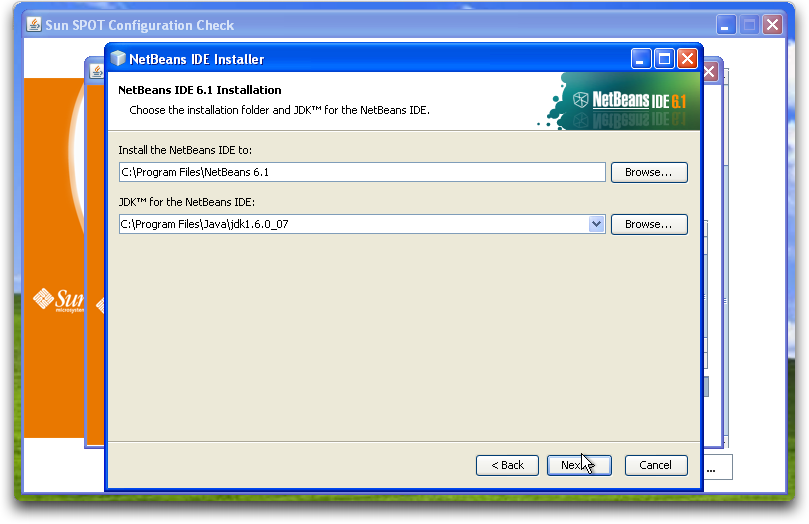
You should be able to accept the default values for everything.
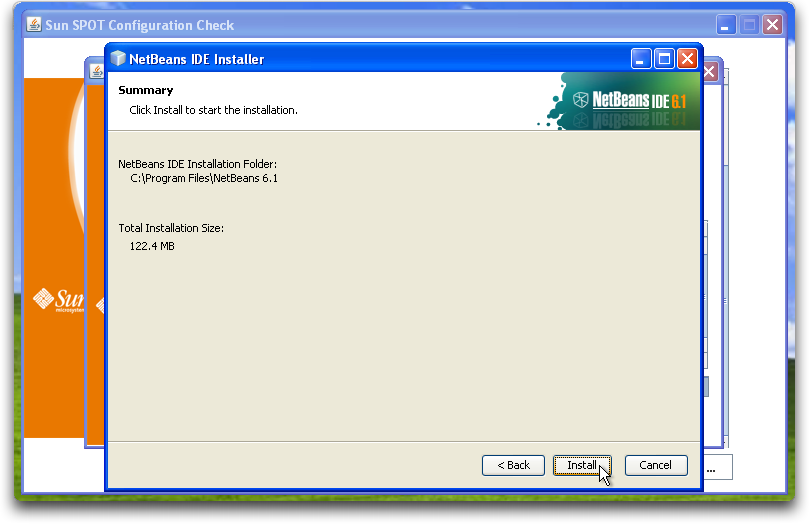
And click 'Install' to install NetBeans.
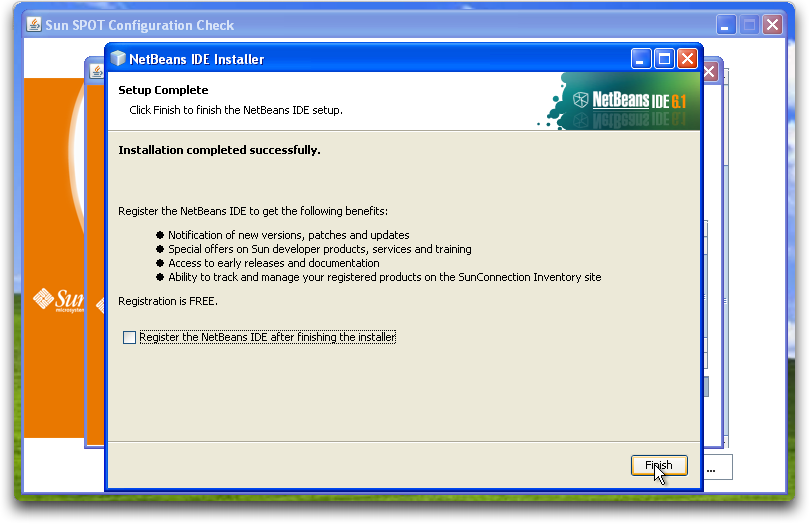
Once the installation process is completed, simply click "Finish" and the installation procedure for Sun SPOTs SDK will continue.
- Once NetBeans is completely installed, if the Apache Ant Build environment is not already installed on your machine, the Sun SPOT Manager will offer to install it for you. Once again, this is required software, and you must either allow the Sun SPOT Manager to install ant, or install ant yourself, before the installation of the Sun SPOT SDK will succeed.
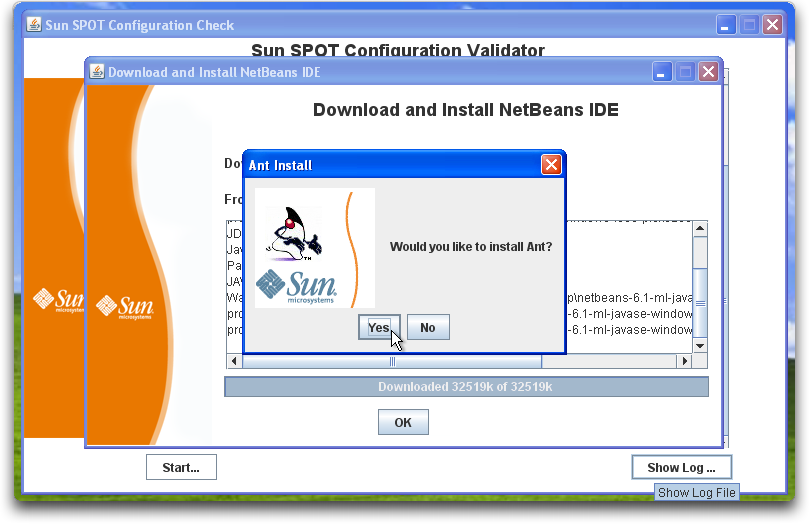
Ant will be downloaded from one of the official Apache mirrors and installed.
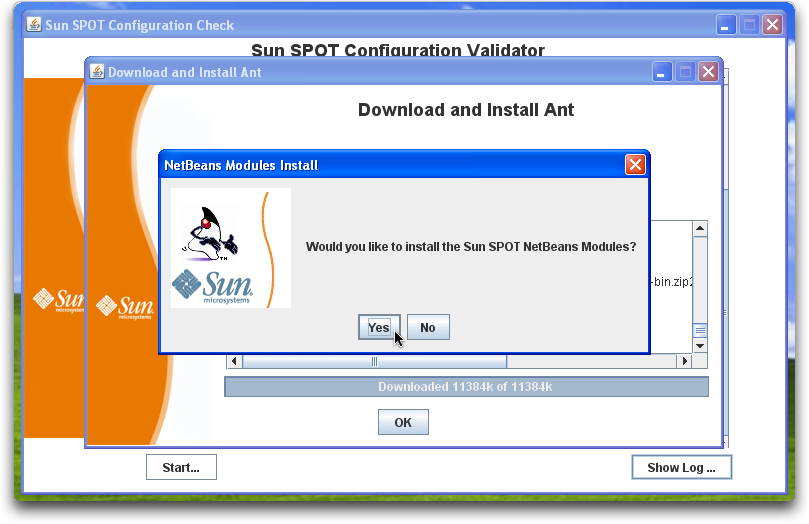
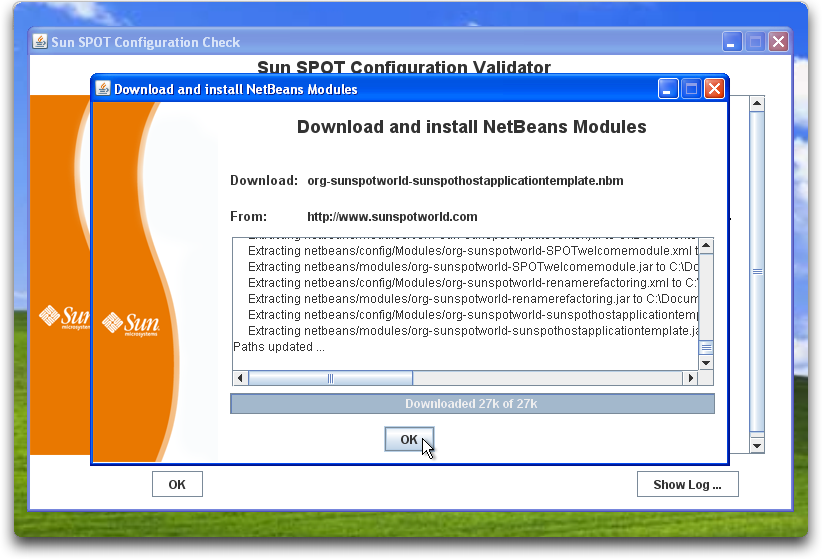
- Once the installation of Ant has completed you will be given the opportunity to install the Sun SPOT NetBeans modules. Again, we strongly recommend installing the Sun SPOT NetBeans modules as they greatly simplify the development of Sun SPOT Applications.
- Once all the configuration has succeeded you will be able to install the Sun SPOT SDK software itself.
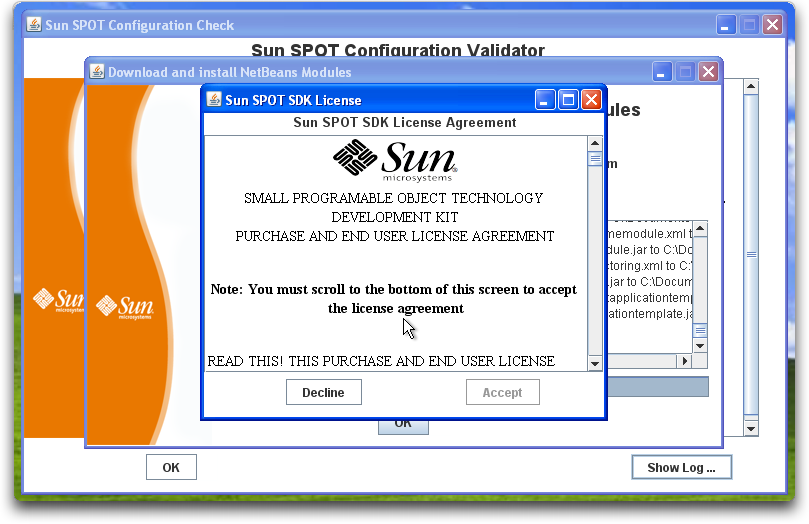
You will be presented with the Sun SPOT SDK License Agreement. You must accept this license agreement in order to proceed with the installation.
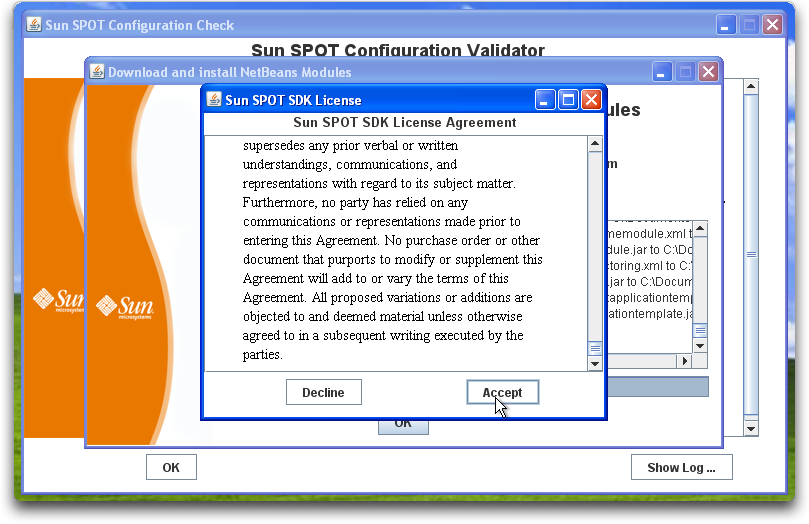
Note that, once again, you must scroll to the bottom of the license agreement before you will be able to click the 'Accept' button. Also, you are strongly encouraged to read the license agreement before agreeing to it.
- You can simply accept the default values, unless you have reason to want your development environment located somewhere else.

If you have accepted the defaults you may see a warning about spaces in the Path.

This was a problem in previous releases of the SDK, but has since been fixed so you do not need to move the SDK and can simply continue.
- Click the 'Install' button to install the Sun SPOT SDK.
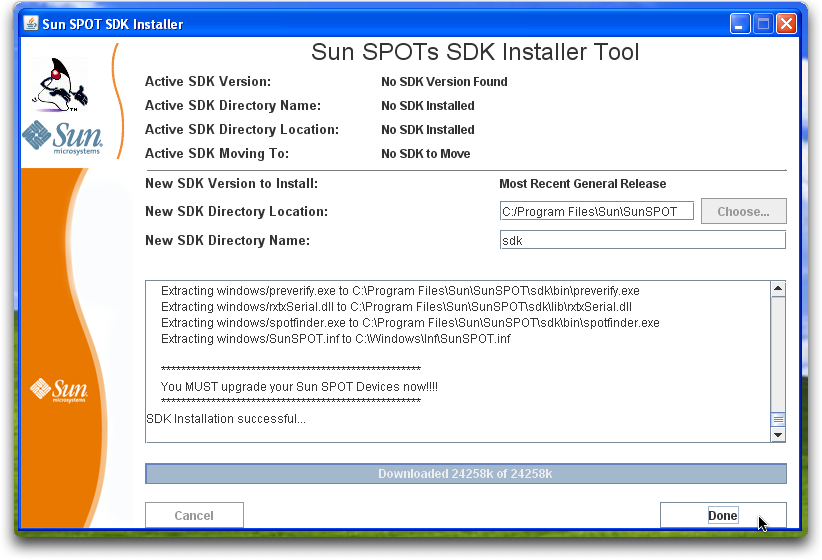
Once the Sun SPOT SDK has completed downloading and installing, you should see the following screen which indicates that the process has been successful. Click the 'Done' button to complete the installation process.
- You should now see the install screen, which has a log of the actions which the installer performed for you.
Click 'OK' to close this window.
You can see the specifics of what was done by clicking the "Show Log" button. If you have had difficulties, or if things did not work as you expected, click the "Show Log" button, copy the entire log output, and post it to the Sun SPOT Support Forums under the 'SPOT Manager' area.

Otherwise, click 'OK' to end the installation.
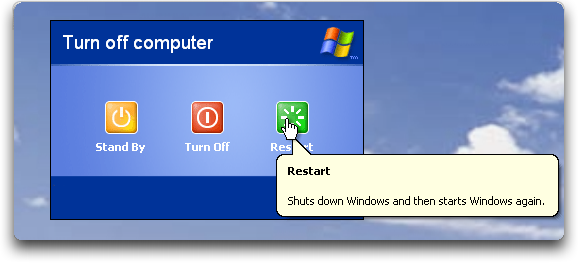
- If you installed either the Sun JDK or Ant (or both) you will see the following screen.

You must reboot in order to complete the installation process.
- Upon logging in again, you should run the Sun SPOT Manager Tool.

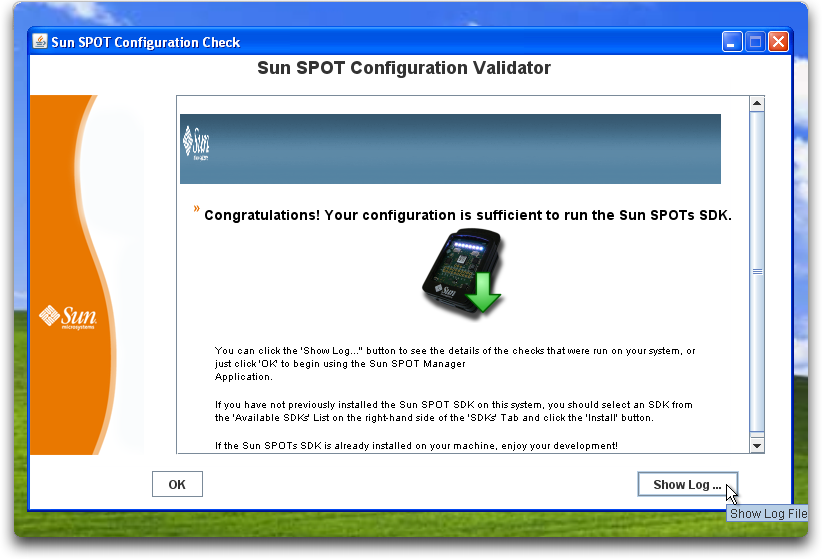
Once again, you will go through the Configuration Validation process.

This time, however, you should see the 'Success' screen indicating that your machine is now capable of running the Sun SPOT SDK.
Clicking 'OK' will take you directly to the main Sun SPOT Manager window.
- You can now work through the Sun SPOT SDK Tutorial. If you have a physical Sun SPOT device, you should plug it in now.
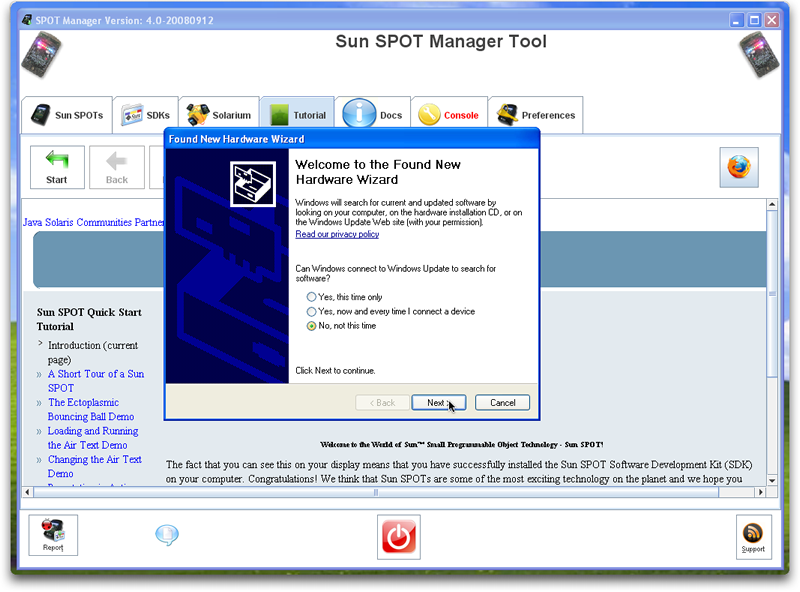
- The 'New Hardware Wizard' should recognize your Sun SPOT Device and offer to configure the driver for you.

The Sun SPOT Driver will not be found on the Microsoft website, so you can say 'no' in the above dialog.
The driver will also not be found in the Windows Update Center, so you can decline searching for it there as well.
- The Hardware Wizard should now find the proper Sun SPOT Driver already installed.
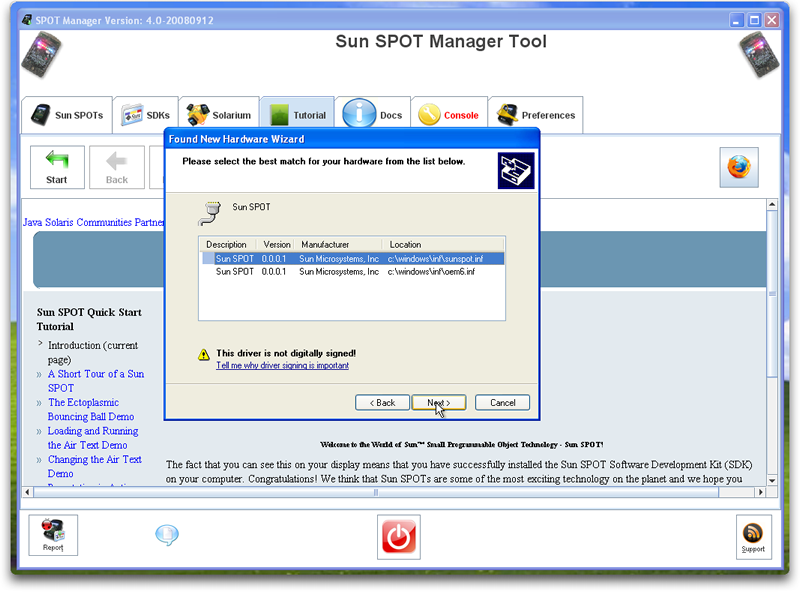
The driver is not digitally signed, but is still safe to install.
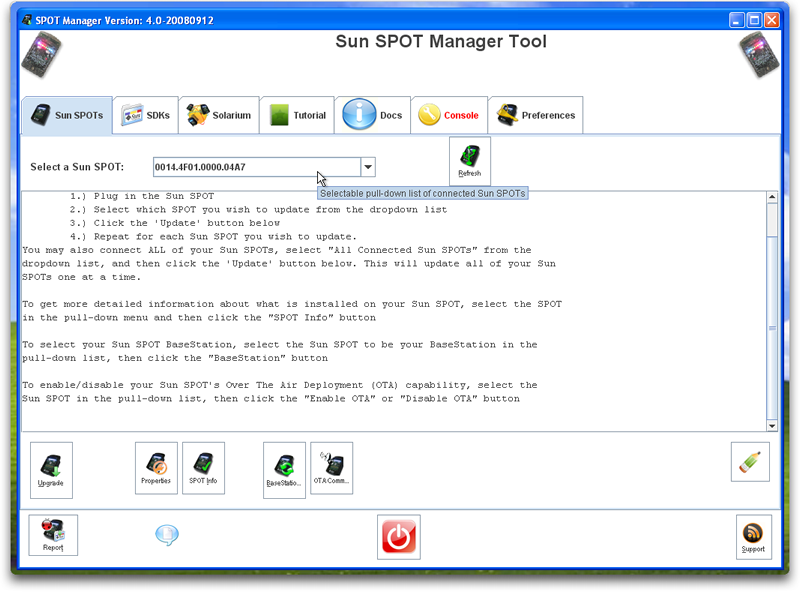
Finish the driver installation, and then click on the Sun SPOTs Tab. - If the Drop-Down Menu does not already list your Sun SPOT Device, click the 'Refresh' Button to show the connected Sun SPOTs
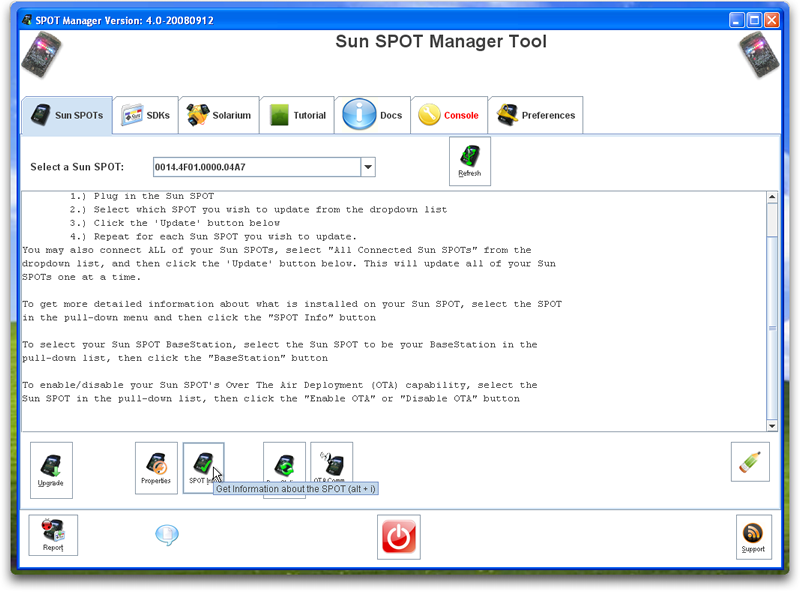
- Clicking on the "Get Info" button will connect to your physical Sun SPOT Device and display the configuration of the software on it.
- If the Software on your physical Sun SPOT Device does not exactly match the software on your Desktop, you will need to upgrade the Sun SPOT Device.

Notice that the 'Upgrade' button turns red if you need to upgrade your Sun SPOT Device. Simply click this button to upgrade the software on your physical device.
- We strongly suggest that you work through the tutorial inorder to learn more about interacting with your Sun SPOT Devices and the Sun SPOT SDK.