When you downloaded the SDK, you got a set of Sun SPOT demos, and one of them is made for the emulated robot. Let’s load and run this demo.
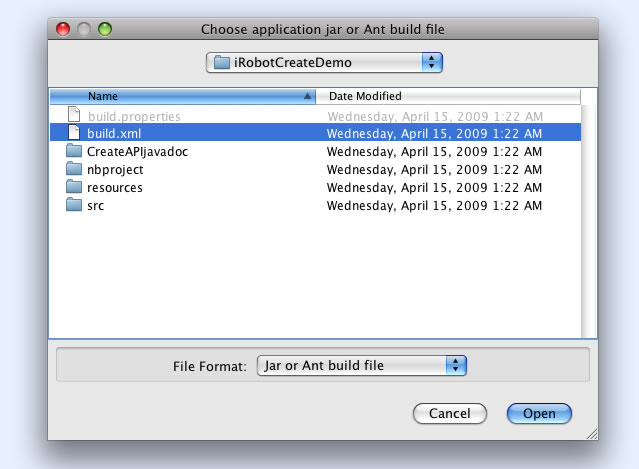
Right click the emulated Sun SPOT device in SPOT View, and select Deploy Midlet Bundle... . This brings up the “file chooser,” with which you can navigate to the following file:
SunSPOT > sdk > Demos > iRobotCreateDemo > build.xml
Note on Windows, some representations of the file name hide the .xml suffix. On the Mac, the file chooser will look like this.

Select the Open button, and the code will compile and deploy to the emulated Sun SPOT. Progress bar windows will pop up as the code is compiled and deployed. On some versions of Windows, a "block / unblock" dialog may appear the very first time you do this.
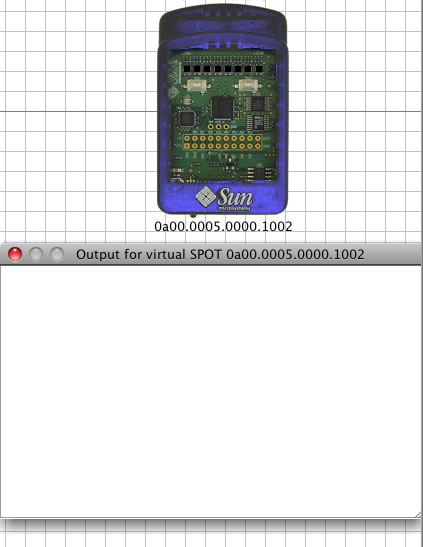
Next, you should create an output window so you can see the program's System.out.println() statements. Right-click the Sun SPOT icon in SPOT View, and from the pop-up menu, select This will create a window beneath the emulated Sun SPOT for showing text output from running applications. |
 |
Now we’ll run the program.
 |
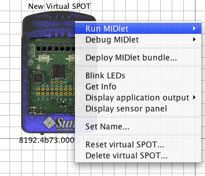
Right click the emulated SunSPOT to pop up the menu, and select RunMIDlet > IRobotCreateDemo.This will show the IRobotCreateDemo icon attached to the emulated SPOT, indicating this program is running. The emulated Robot will start to move on the screen. |
In the demo, the emulated robot bumps into each of the four walls, measuring distances as it goes so it can calculate and move to the exact center of the space. If you make another robot and have two run at the same time, they might bump into each other and thus settle into the center of their own portion of the room.
Note: feel free to try out the + and - buttons along the bottom of the two views: zooming out can make it easier to work with multiple robots and larger Robot View spaces.